Transfer Data from MAX IV using Globus Connect
How to download your data from MAX IV.
For handling the large amount of data often generated during synchrotron experiments, Globus is an excellent tool that lets you setup a data transfer and leave it to the software manage the connection and monitoring the copying over a longer time. We highly recommend using Globus Connect to retrieve experimental data from MAX IV
Globus works as a broker, managing your data transfer while you do something else. You give Globus temporary permissions to access location A and location B on your behalf. Provide Globus a list of files to transfer from A to B. Globus will then do its best to complete the task, trying to overcome bad network situations and computers that for one reason or the other are not always available.
Prerequisites
- A computer running macOS, Windows or Linux where you can install the Globus software or access to a managed Globus Endpoint
- Globus ID credentials (Either personal or organizational)
- MAX IV credentials, for users that is the DUO account.
- 2-factor authentication is enforced! It is necessary to first register an OTP application. See: One Time Password (OTP)
- A high-speed internet connection is helpful to complete the transfer in reasonable time.
Limitations
- It is not possible to connect to the MAX IV endpoint from within the MAX IV network, that includes being connected via MAX IV VPN
- There is currently (Nov 2023) a bug/behavior of the software that slows down the transfer significantly if there are many files that can’t be accessed in the list of files that are to be transferred. Avoid doing changes to the data directory while transferring and verify that you have read access to all files.
1. Log in to Globus
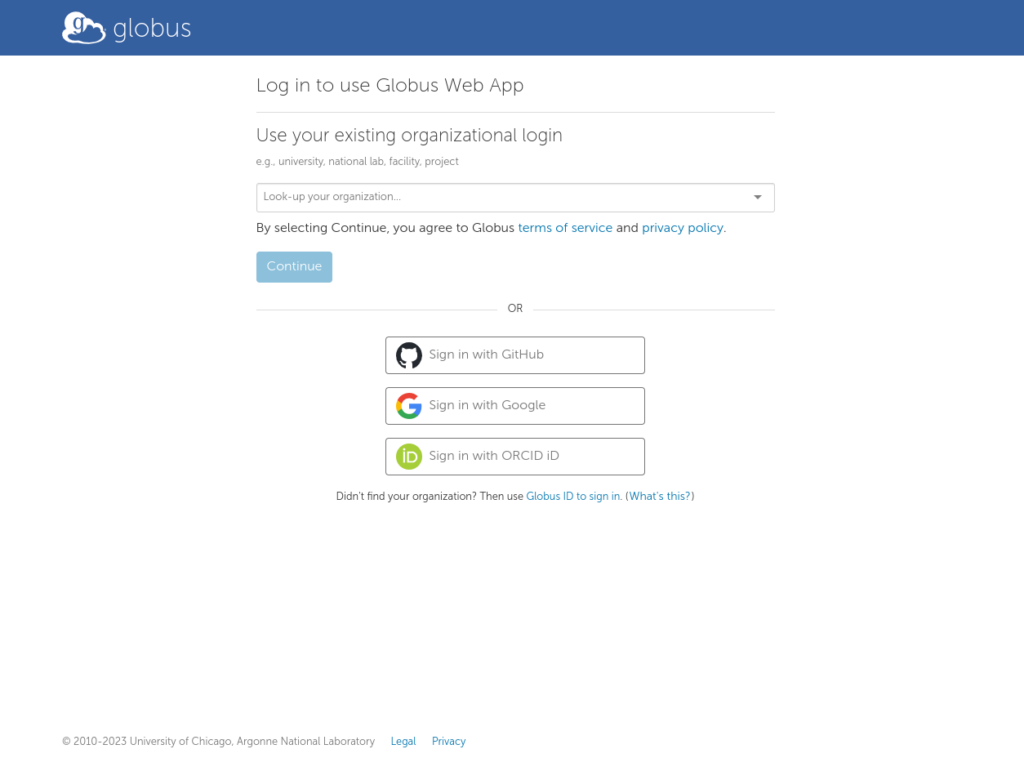
- Go to the Globus website: https://app.globus.org/
- Select your university/organization from the drop down menu and click on the Continue button to access the log in page; or use one of the alternative options provided to sign in.
- It is important to understand that this first login is to gain access to Globus and the services they provide. From here you then connect to the two endpoints that send and receive data respectively. The access to MAX IV will be configured in the next step.
2. Setup MAX IV Data Transfer Service endpoint
Depending on previous activity, these instructions may not identical to what you will experience. Some steps may be skipped due to already stored credentials.
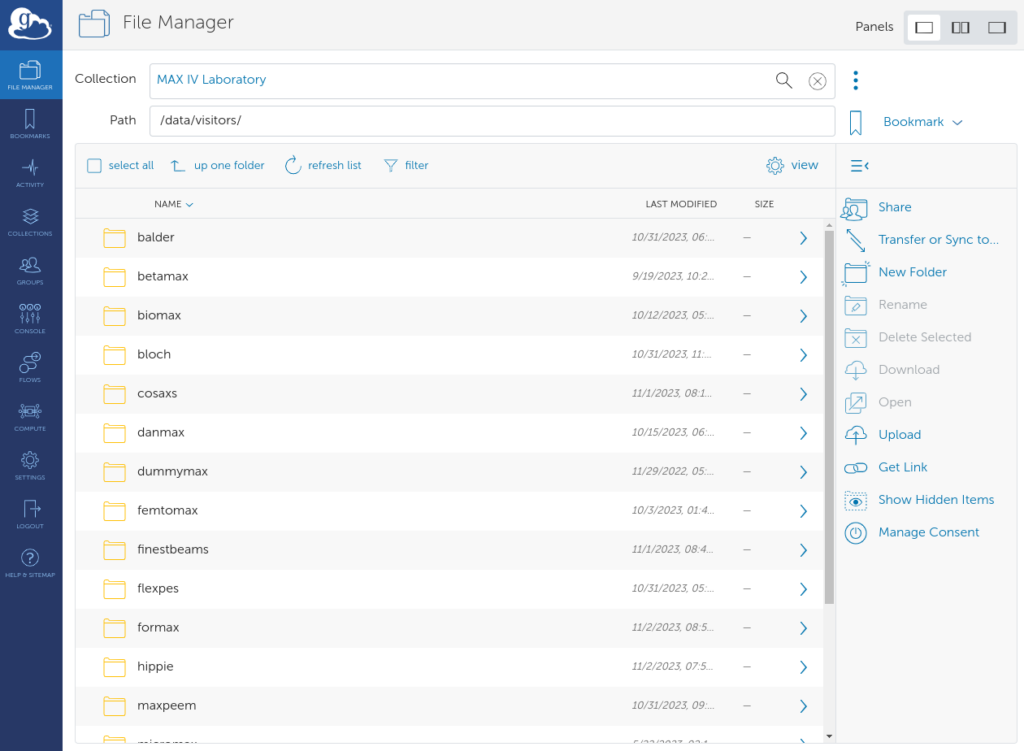
- After successful log in to Globus, the File Manager screen will be loaded in a single pane view.
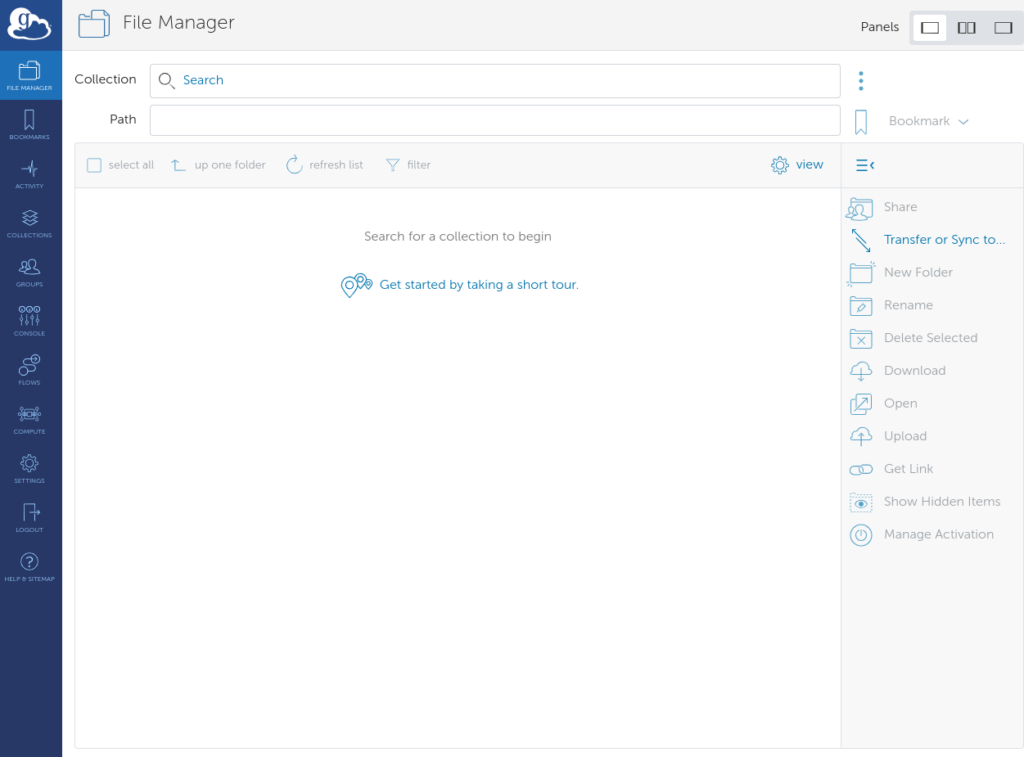
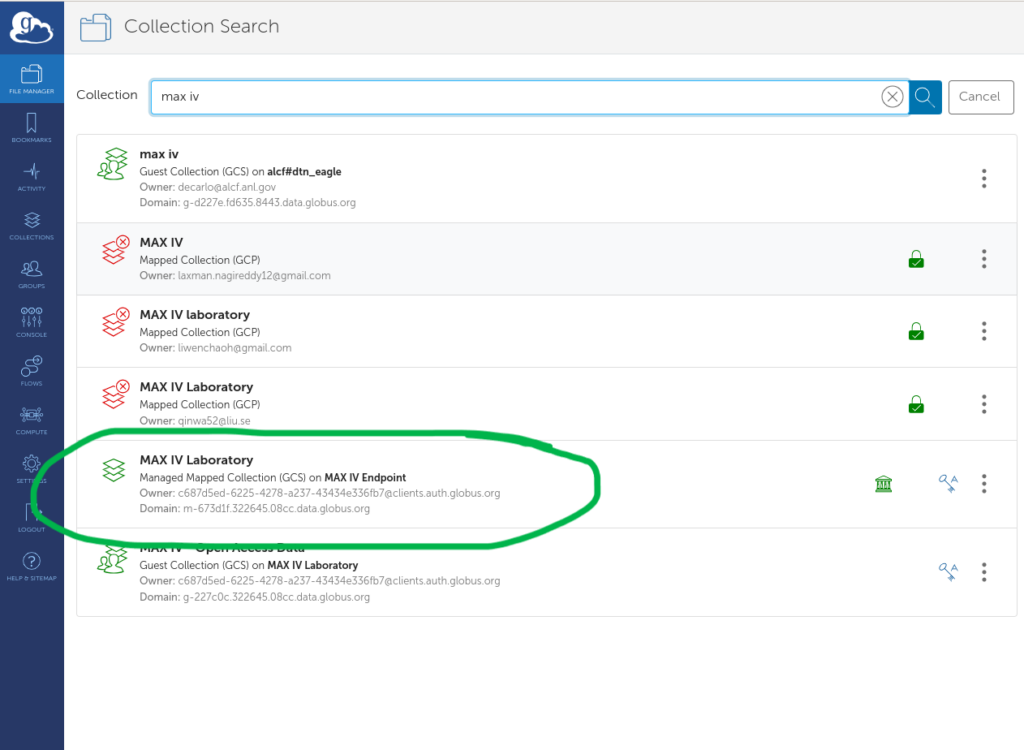
- In the Collection search box, start typing “MAX IV Laboratory”. The screen will change to the “Collection Search” page and it will display possible Endpoints as you refine the search. People are free to pick names for their private collections, so make sure you pick the correct one.
– MAX IV Laboratory
– Managed Mapped Collection (GCS) on MAX IV Endpoint
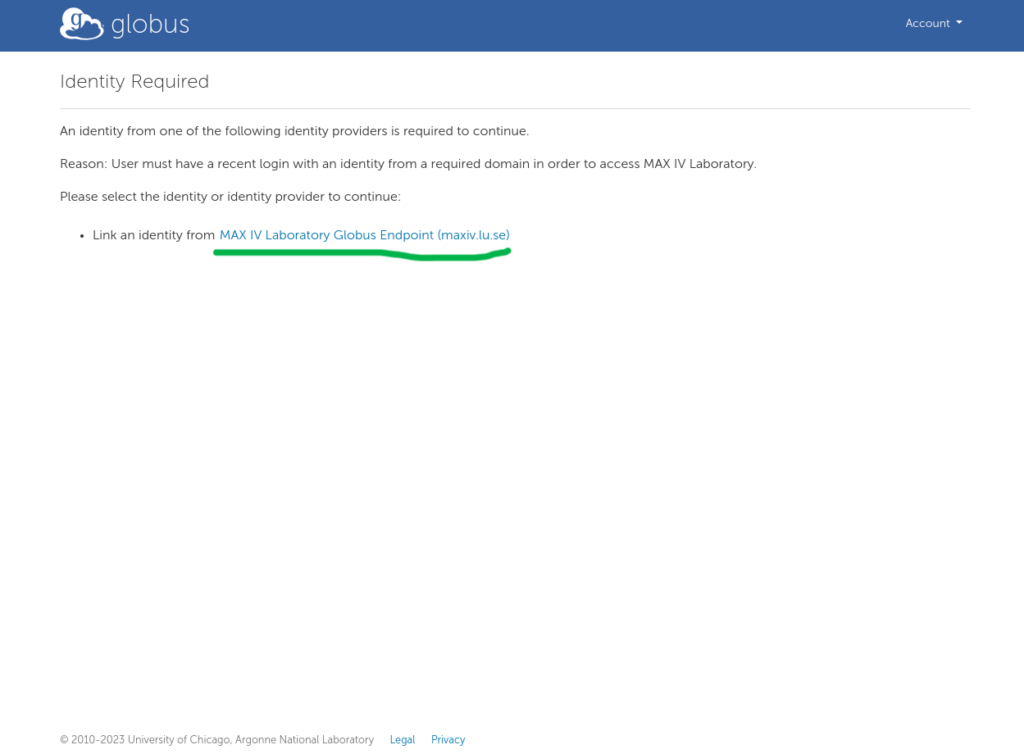
- When you select the MAX IV Laboratory collection, a new screen will ask for an “identity” in the maxiv.lu.se domain.
- Click on Continue.
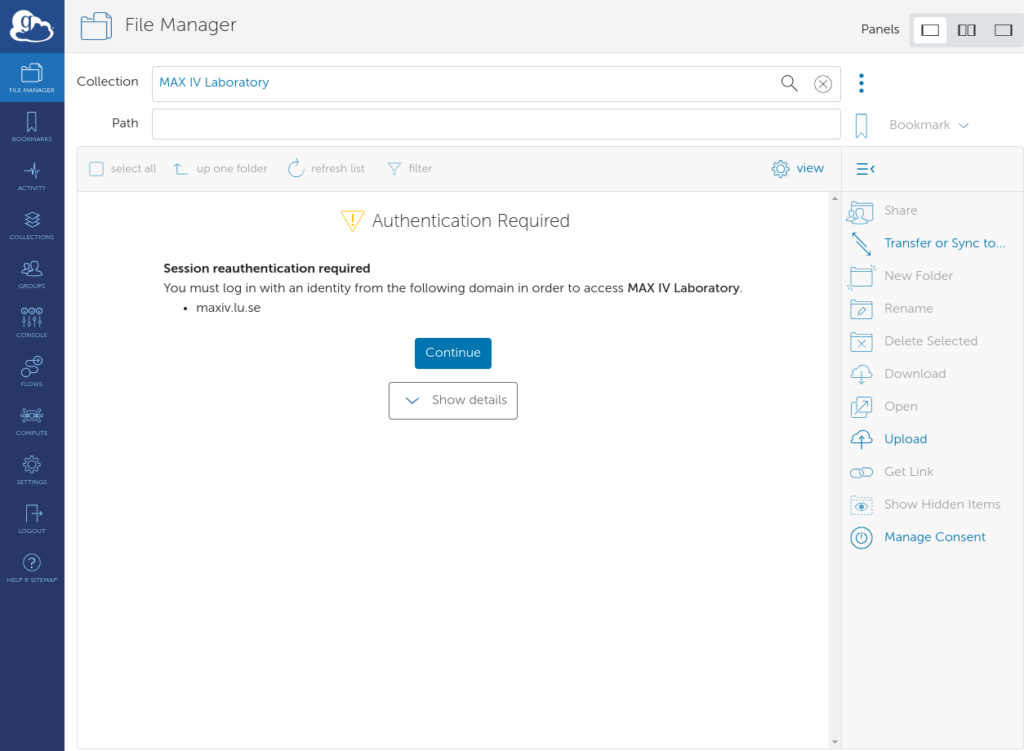
- If this is the first time you use Globus at MAX IV after October 25, 2023, you will only have a single option to link an identity from MAX IV Laboratory. Otherwise there will be additional options to select already linked identities.
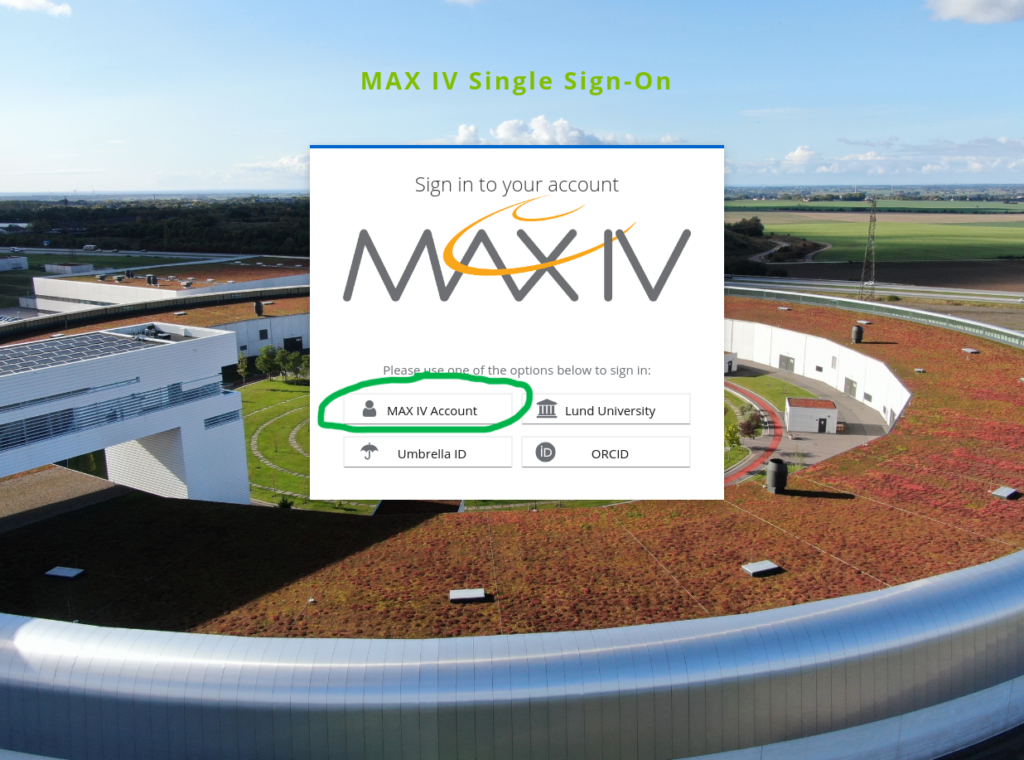
- That will bring you to the MAX IV Single Sign On page.
- Select the “MAX IV Login” button unless you previously linked your MAX IV identity to one of the other SSO options.
- Next is the MAX IV login page, use the same account you use for DUO.
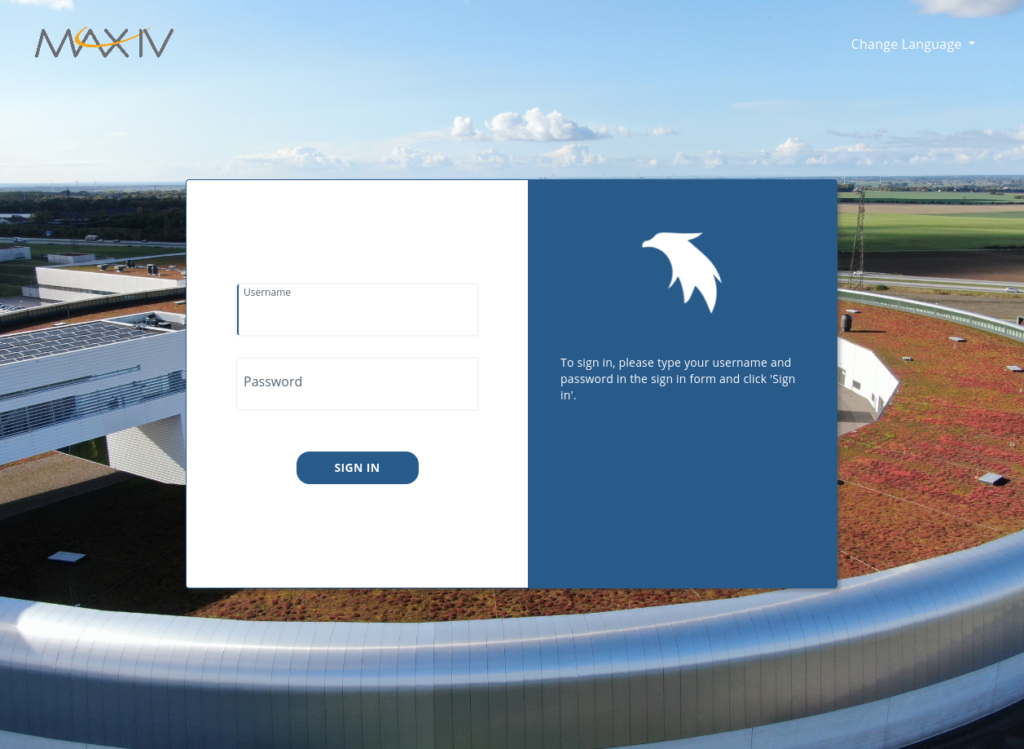
- Enter the code from the OTP application you registered with MAX IV.
- If you haven’t done so previously, look at the instructions for One Time Password (OTP)

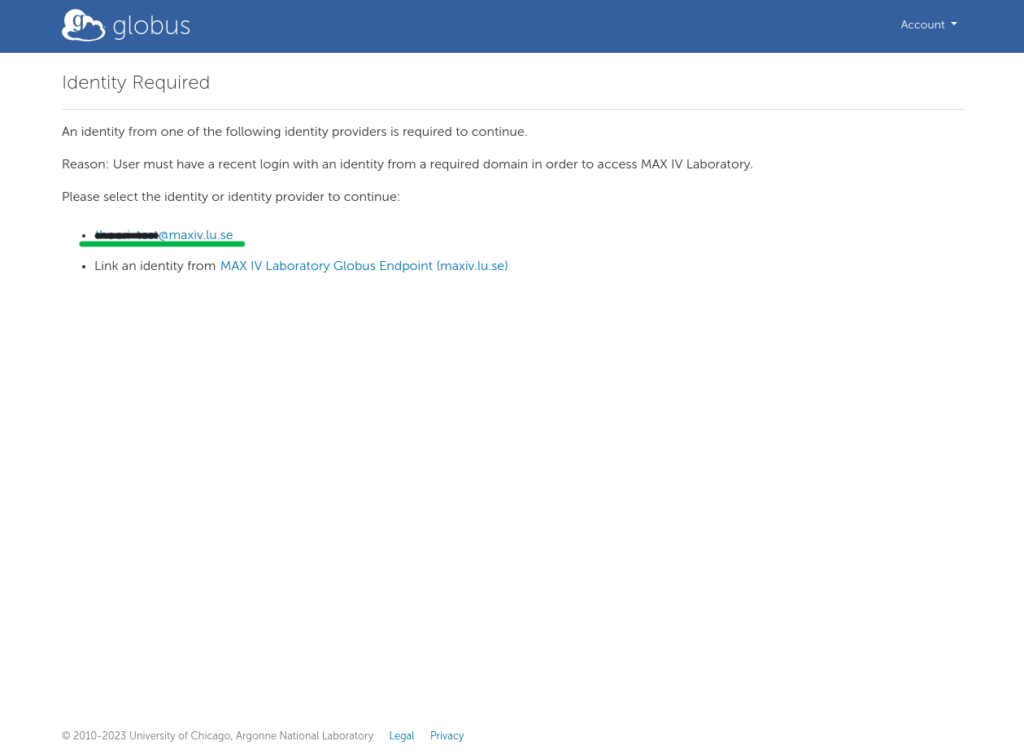
- With successful authentication you will be returned to the “Identity Required” page.
- You now have the option “<your_username>@maxiv.lu.se” in the list, select that one.
- You are now returned to the File Manager page and if you have not previously set another default landing page, you will end up in /data/visitors/ with a listing of all the beamline directories at MAX IV.
- Click your way to the directory that contains your data.
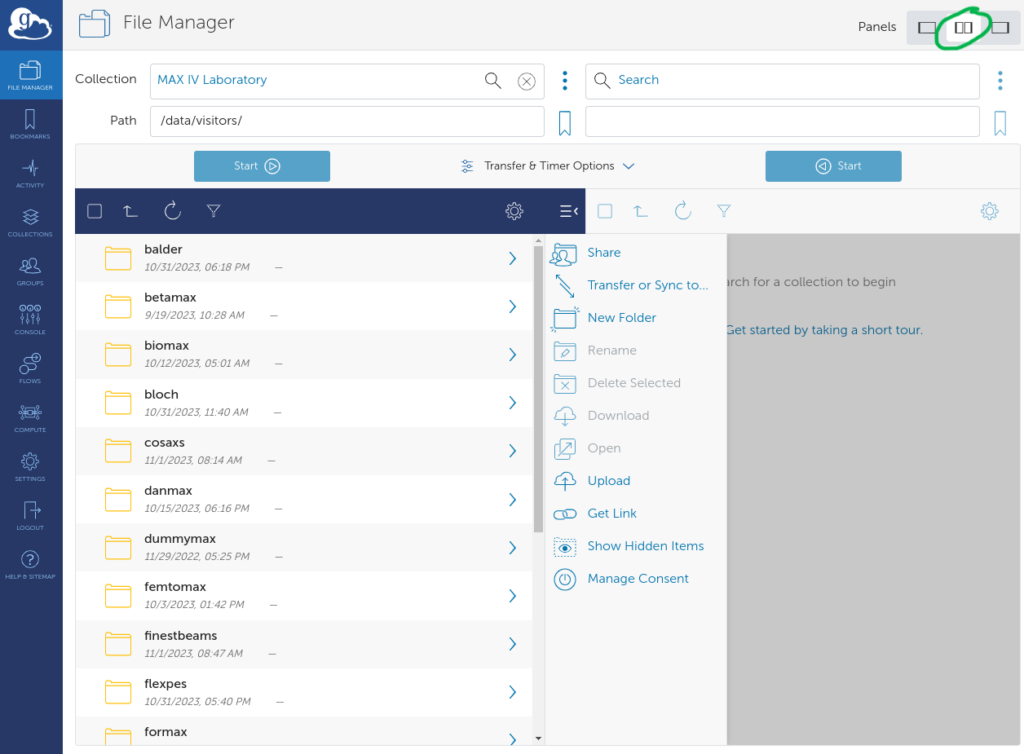
- Now click on the pane symbol in the upper right corner, that will split the screen into two windows and you can type in the name of your destination endpoint in the new Collection search field.
- This can be the name of another managed endpoint, or it can be a Globus Connect Personal endpoint on your computer.
- If you need to setup a personal endpoint, see section 3, otherwise skip to section 4.
Being edited… 2023-11-05
3. Setup Personal endpoint
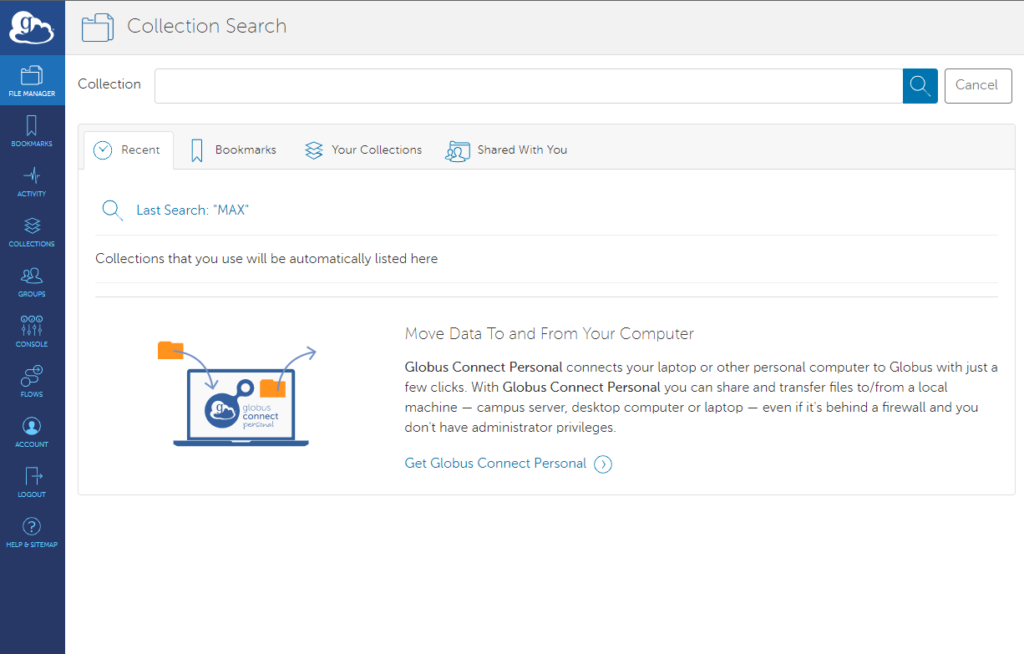
- To download data to a personal computer, one will have to define that computer as Personal Endpoint using Globus Connect software. Select File Manager in the toolbar, then click in the Collection Search field.
- A screen like the image below will appear, click on the Get Globus Connect Personal link.
- Next, download and install Globus Connect Personal software in your computer, using the link corresponding to your operating system. Follow the on-screen instructions keeping the default settings.
- You will be requested to sign in again (refer to the section 1 above), allow Globus the required access and provide a name for your new collection.
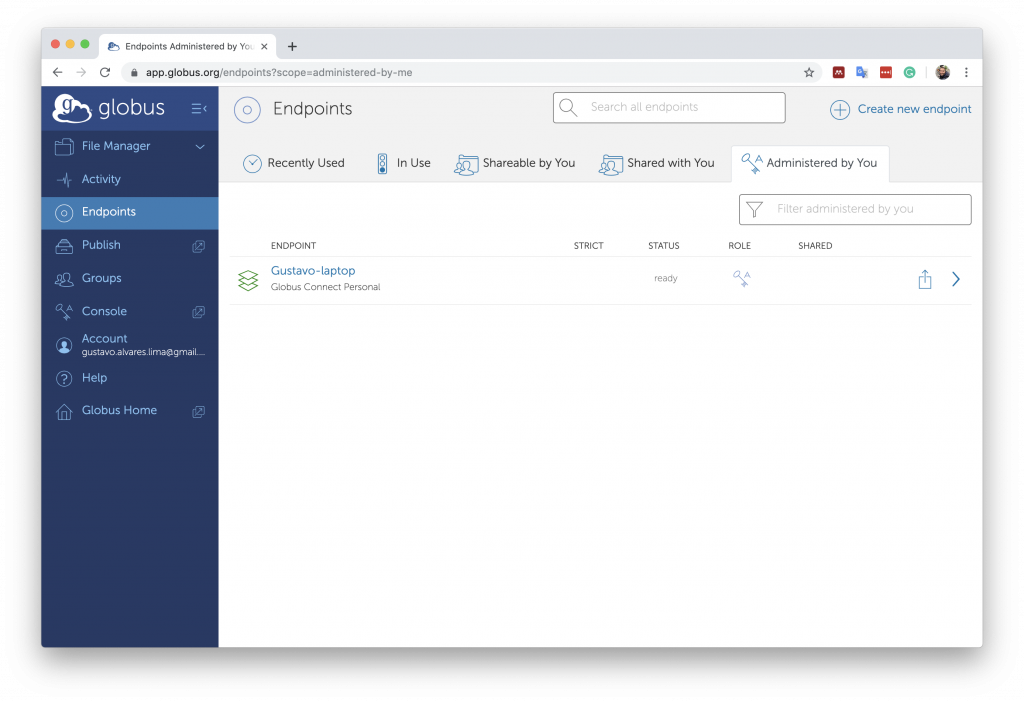
- Once you finish the setup, the local endpoint will be available under the Administrated by me tab, found after clicking the endpoint name on the right-hand side. This option enables searching local folders to download data.
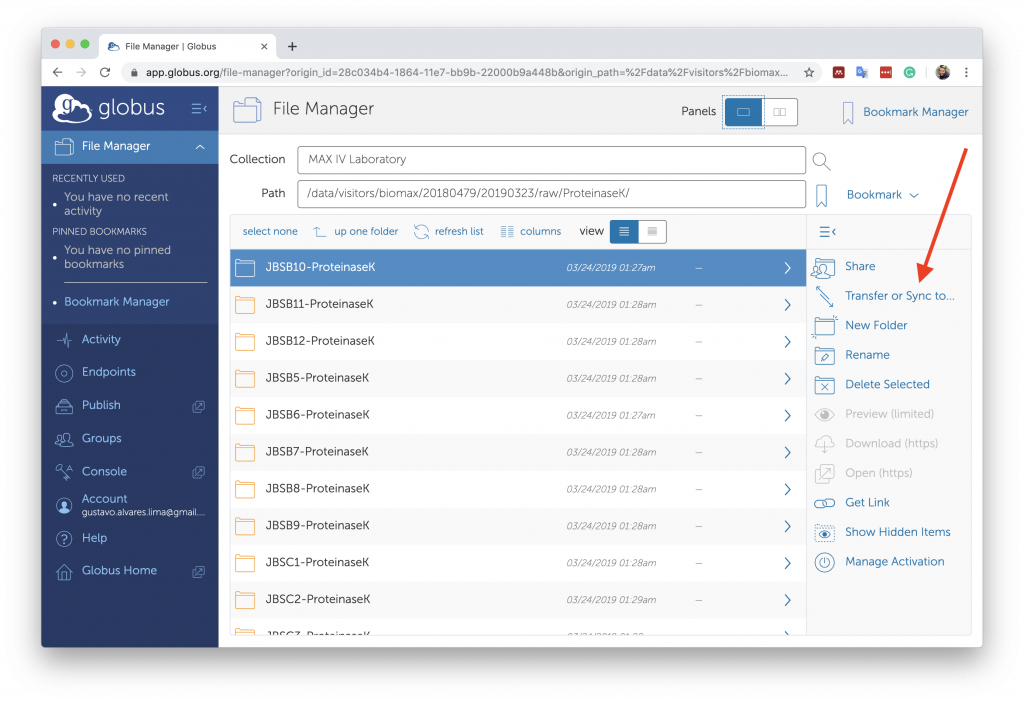
4. Download MAX IV data
- To transfer the data to the final endpoint, go back to the File Manager by selecting the item in the left-side menu.
- On the left window pane, select the data you want to transfer, which is under the following path:
/data/visitors/beamline/proposal_number/collection_day - On the right pane, select your local destination folder and click on the blue button on the top to start the data download.
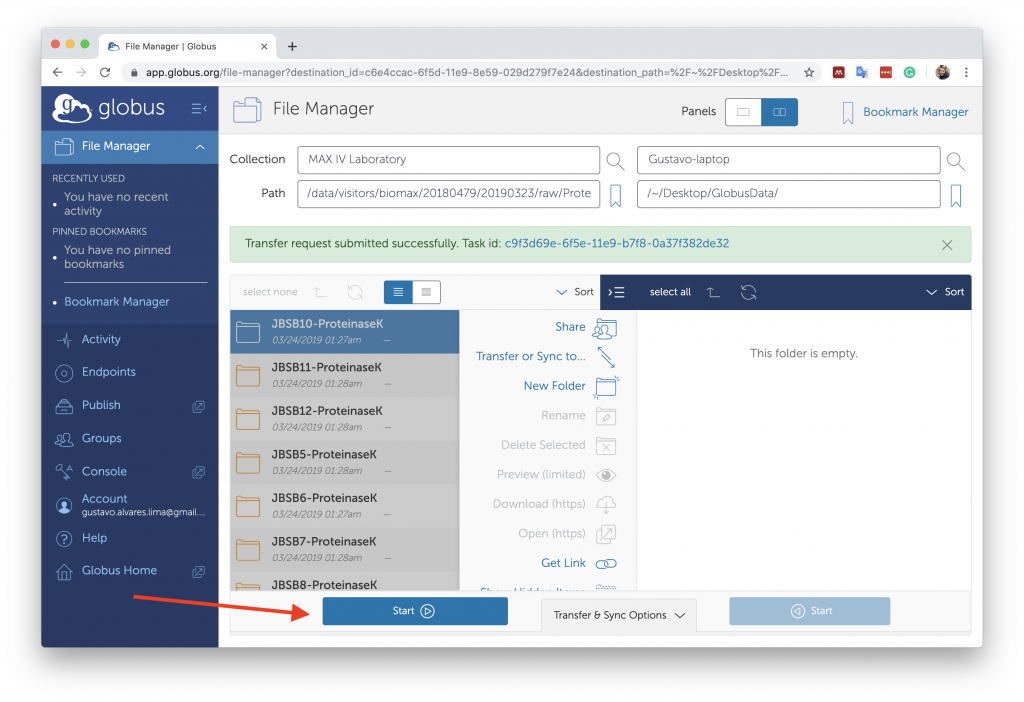
- To monitor the transfer progress, you can click the Activity button at the bottom of your Transfer Files page. When the transfer finishes, you will receive an email.