The MAX IV sample exchanger currently supports only samples mounted in UniPucks. UniPucks can be purchased from a number of vendors, but there are also some available at the beamline. This guide shows how to transfer samples between SPINE Pucks and UniPucks and how to load and unload samples in the robot, including instructions to use the IsaraLoader application to automatically assign the Unipuck positions into the ISPyB database.
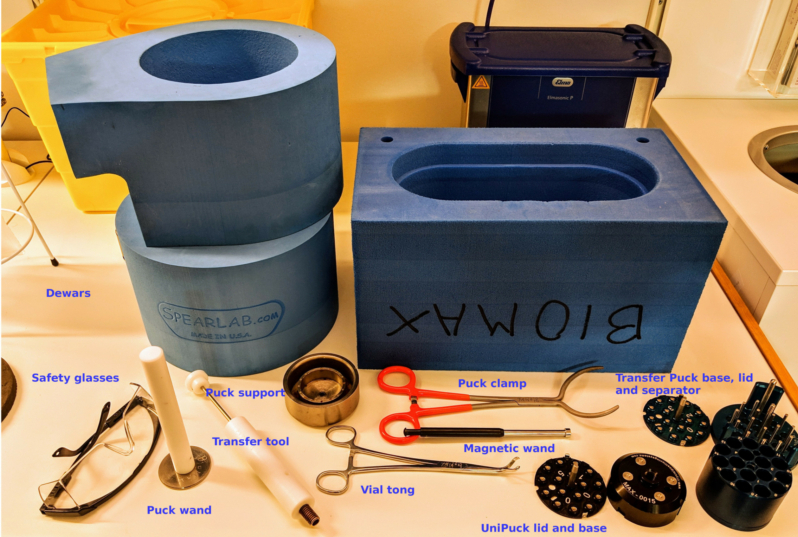
This section describes the procedure to transfer samples in SPINE Pucks to UniPucks. The picture below shows the tools needed to transfer samples from ESRF puck to UniPuck. You can borrow all of the them from the tool box in the prep room at MAX IV. You do not need to wear gloves as long as you use tools with handles made of insulating materials, but we also provide cotton and latex gloves.
- Precool containers in LN2 until there is no bubbling prior to placing any samples in them. Cover any dewars that you are not currently using to prevent ice accumulation.
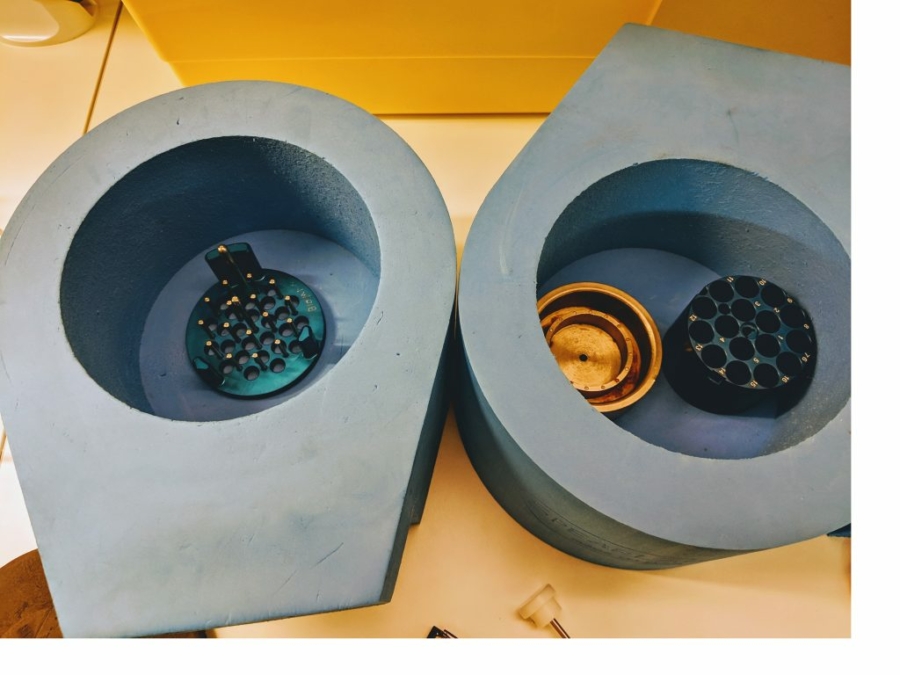
- Place the SPINE puck containing the samples onto the support to raise the vials.
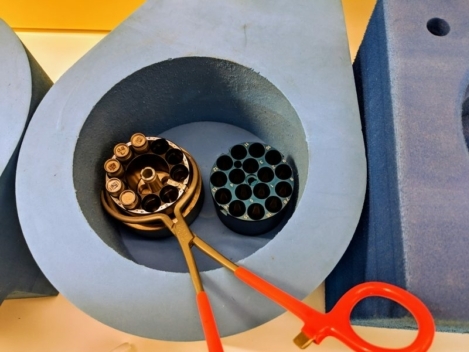
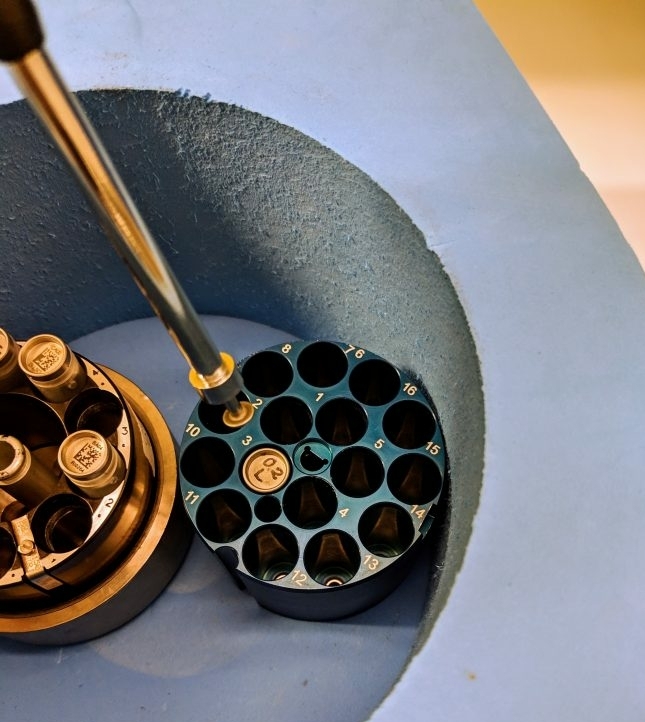
- Pick the sample and vial with the magnetic wand.
- Place the vial into the transfer puck. Make a note of the new sample port. The numbering scheme in the transfer puck is the same as in the UniPucks.
- Precool the UniPuck lid.
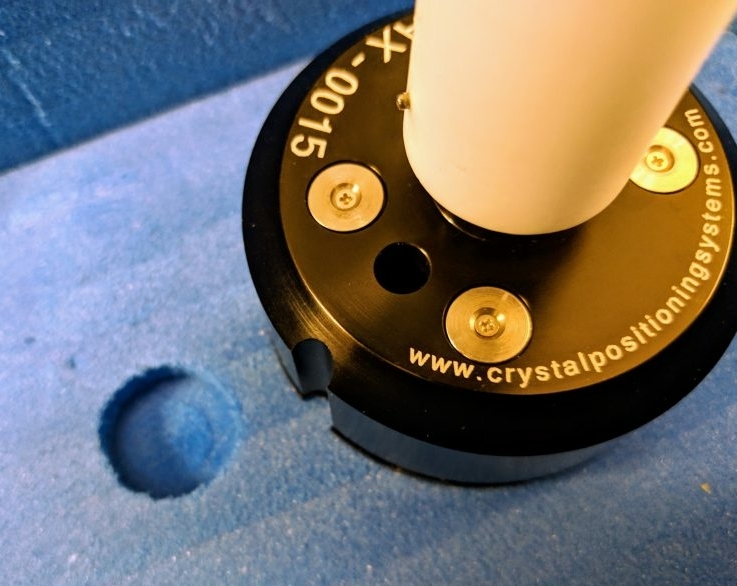
- Place the lid onto the puck, making sure that the crescent shaped rod in the lid matches the hole in the base (it will not go in otherwise) and press down firmly until it is locked into place.
![]()
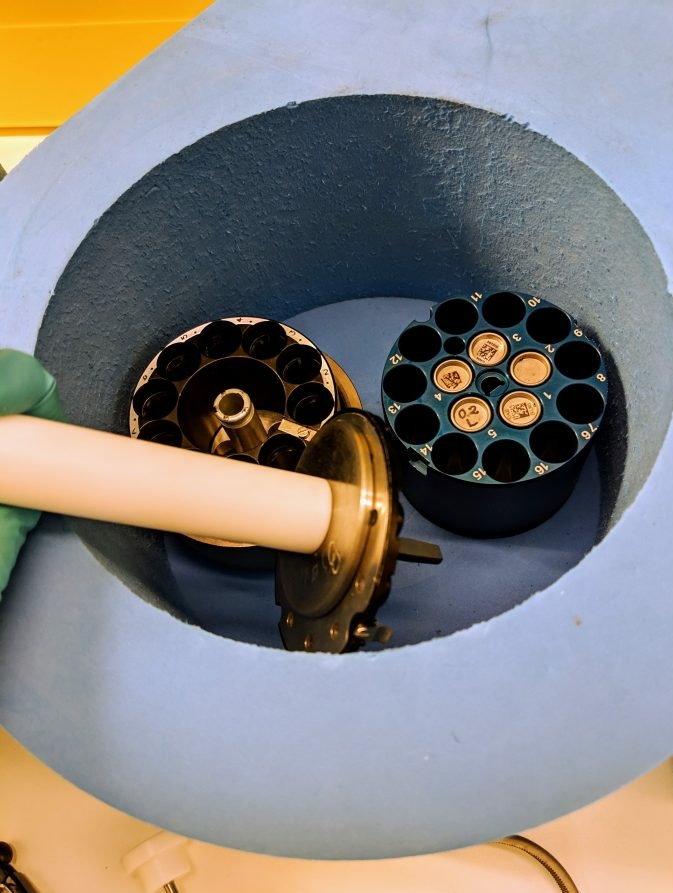
- Grab the transfer puck and remove the transfer wand by sliding it off the lid. If you do not need to load any more UniPucks, you can load the samples in the robot dewar at this point, directly off the transfer puck.
![]()
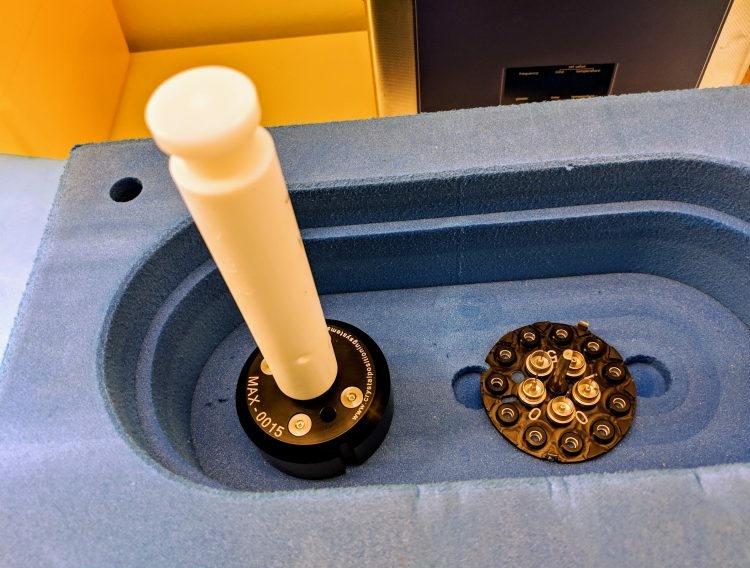
- Turn the transfer puck upside down and screw in the transfer tool. You do not need to screw it all the way in.
![]()
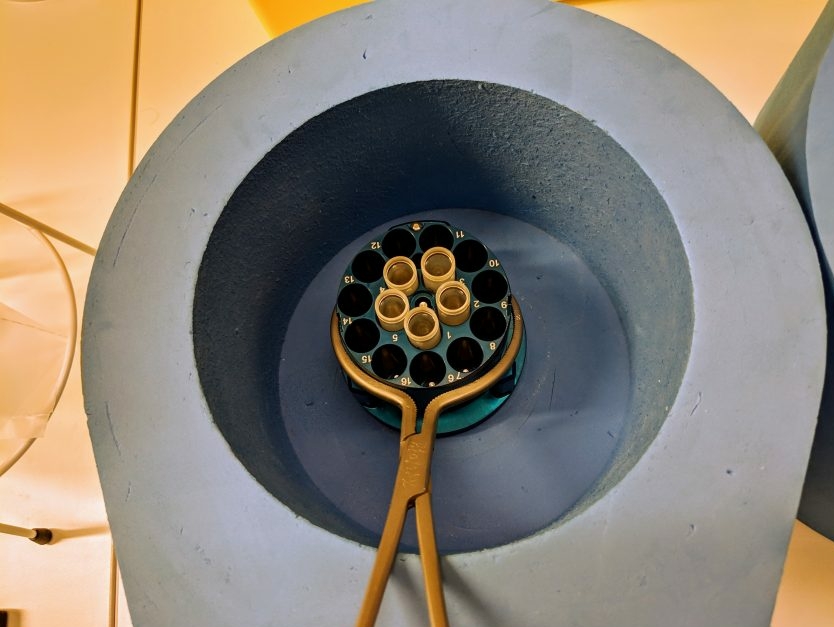
- Press down on the screw while lifting to separate the base. The samples will remain attached to the lid and facing up.
![]()
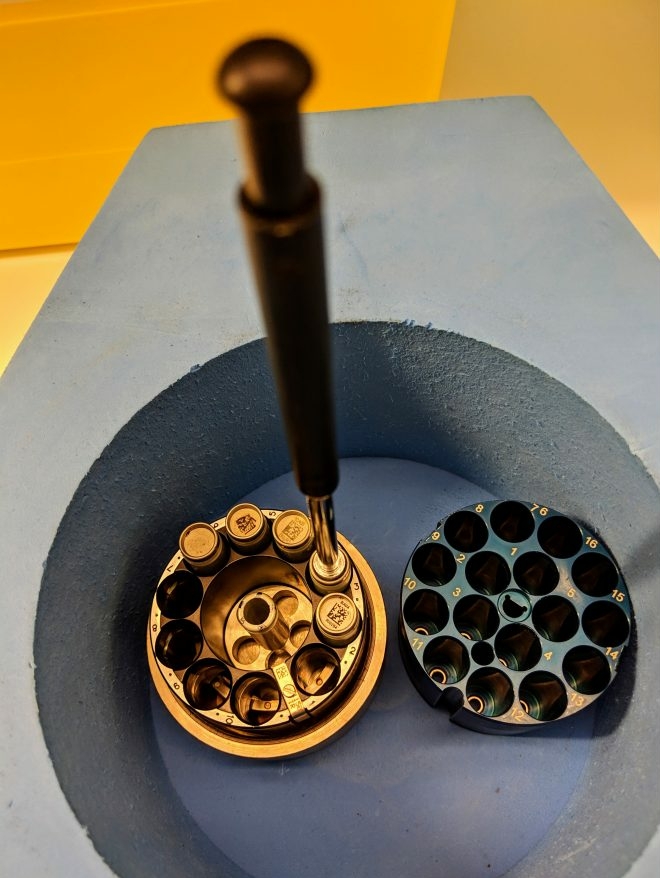
- Retrieve the vials inside the transfer puck to reuse it to transfer more samples to UniPucks: place it onto the transfer base and pick up the raised vials with the vial tong.
- Screw the transfer tool onto the back of the UniPuck.
- Place the UniPuck base carefully on top of the lid. Line up the notch running along the side of the base with the notch on the lid and make sure the base is not tilted. Once it is properly aligned, it will go down easily. Press to lock it and store it until it is ready to place into the robot dewar.
To return the samples to the original SPINE Puck once the beamtime is over, you will follow a similar procedure to that described in the previous section:
- Separate the puck base and the lid with the transfer tool.
- Place the transfer puck base (with vials!) over the UniPuck lid.
- Use the transfer Puck separator to remove the Unipuck lid and lift the sample vials.
- Transfer the vials to the SPINE Puck.
Typically beamline staff will help you loading the Pucks in the robot and train you if you need to carry out a sample exchange or unload the pucks outside support hours. As a reminder, these are the key steps of the procedure:
- Make sure that the beamline shutter is closed, there is no sample mounted on the goniometer, the Eiger detector has moved back beamstop and collimators are retracted and the robot is parked in a safe position and disabled. You can do all this from the “prepare_open_hutch” beamline action MXCuBE.
- Wear eye protection when handling pucks in the robot dewar. Gloves are not required as long as you use tools with insulated handles.
- Follow the procedure illustrated in this video.
- We recommend using the IsaraLoader application to keep track of the puck position in the dewar. To use the application you must have declared the shipment in EXI (the EXtended ISPyB interface) in advance, and provided a unique name for your shipment(s). Use the following steps:
- Log in to the application from the iPad next to the robot dewar using your DUO account credentials. You can access the login menu by clicking on Manage session. Select the correct proposal.
- Click on unload dewars. This will remove any existing assignment between puck positions and EXI from older beamtime sessions.
- Select the shipment. This will show the pucks declared in the shipment. Click on one puck. A laser light will point to the first available position in the dewar. Mount the corresponding Unipuck there. Do this until you have mounted all the Unipucks in all your shipments.
- After following this procedure, you can log in directly to MXCuBE and see the correct sample information for each of the loaded Unipucks.
- After loading the samples in the robot, it is advisable to make a note of their position of the pucks, in case synchronization between the IsaraLoader application and the database fails and you need to assign them in EXI.